I finished installing the new starboard bulkhead. At about this time, I started poking around the port bulkhead with quite some vigor. I learned from my experience with the starboard bulkhead that rot in plywood can be masked by the outer laminates and you need to be aggressive with a screwdriver in order to confirm its absence. I pulled the port chainplate - check out the video for my thoughts on common chainplate maintenance issues and discussion on the correct methods.
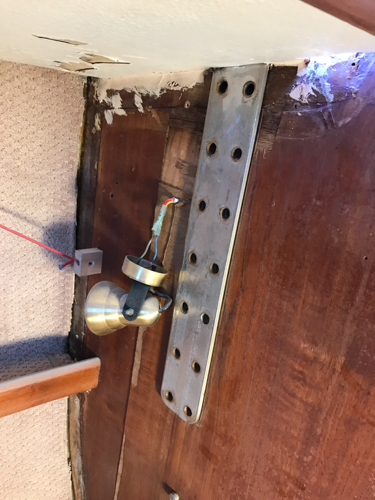
Port Bulkhead
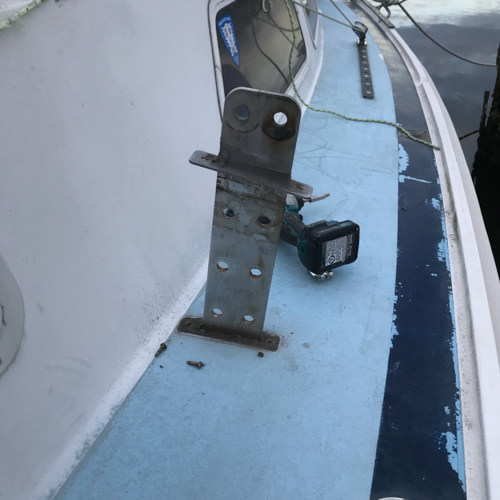
Port Chainplate looking aft
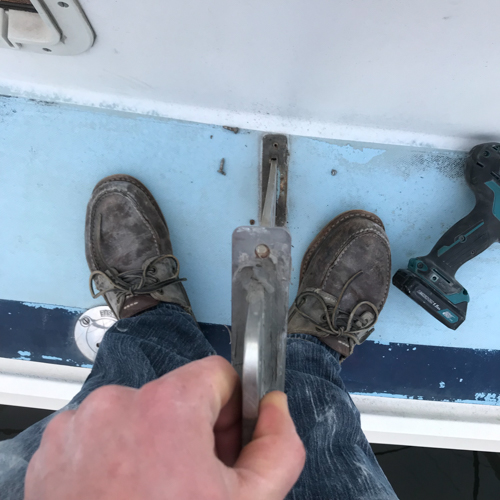
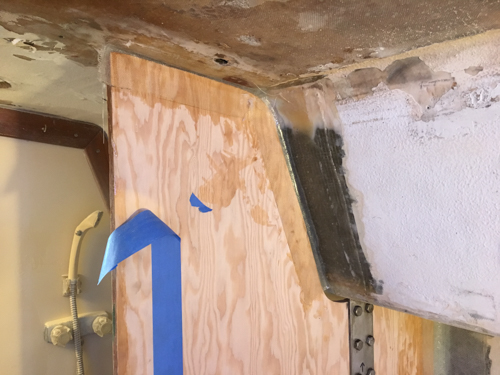
Starboard Bulkhead View Forward
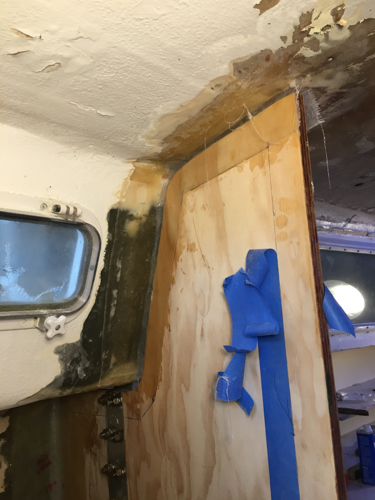
View Aft
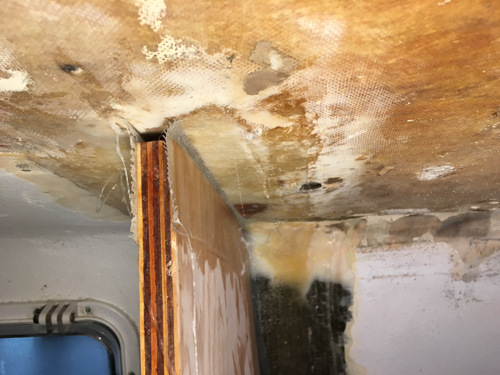
Tabbing to Cabintop
Yay! That wasn't too bad at all! I'll add two more tabs to the starboard bulkhead in the catwalk area, but I consider that as more of the re-coring process, so let's re-core the starboard catwalk next!