I'm re-coring the deck from below because the outer skin of fiberglass is much thicker than the inner. First I removed all of the inner skin and plywood core. See Re-Coring the Deck Part 1 - Removing Old Core for details on the core removal. At this point I sanded the under-side of the remaining outer skin to create an adequate surface for adhesion of epoxy.
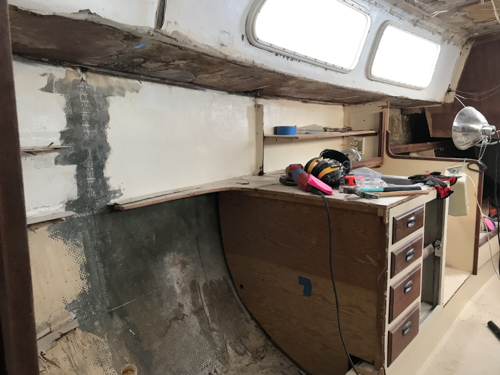
Starting Point - Underside of deck is smooth and ready for new core
The new plywood sheets need to be clamped with upward pressure so I devised a number of canting wood clamps to apply even pressure.
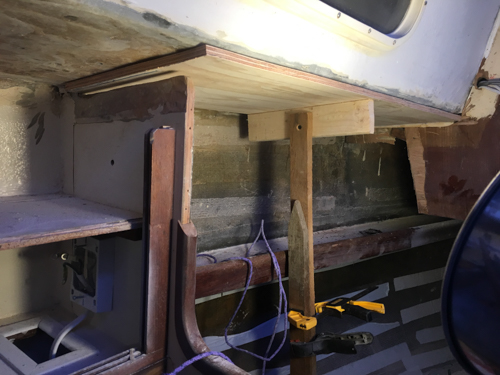
Dry-Fit and clamp test
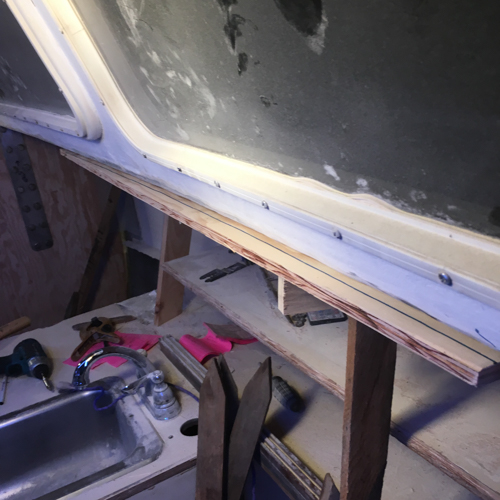
Dry-fit and clamp test
Setup in the Vee Berth. I wet out a single layer of 4 oz E-glass on top of each new piece of plywood core, and glopped on a good amount of epoxy thickened with colloidal silica. Then I clamped it against the deck and let it cure.
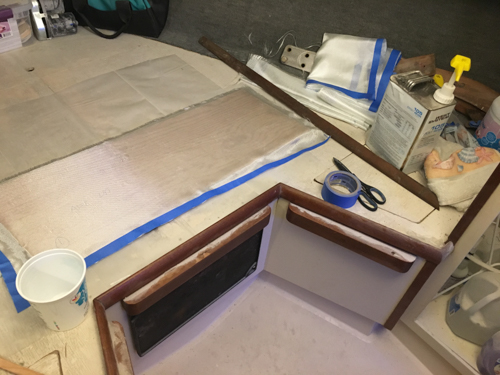
The epoxy station in the V-Berth
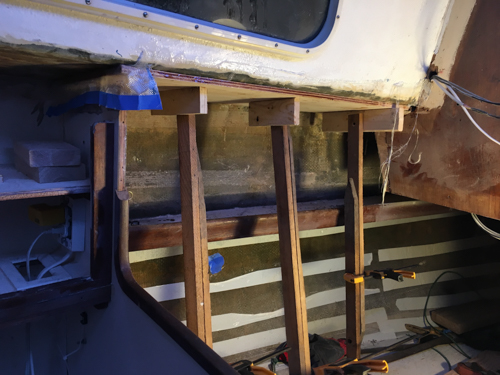
Core piece epoxied and clamped
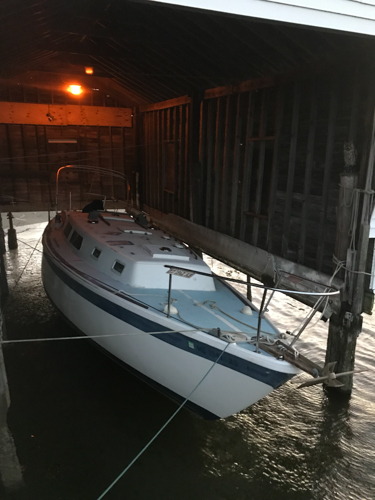
Working on a heel
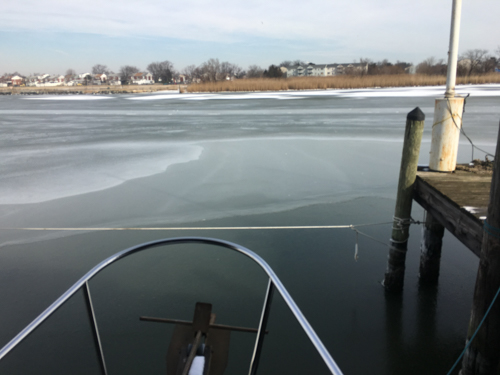
The working conditions
The last few pieces:
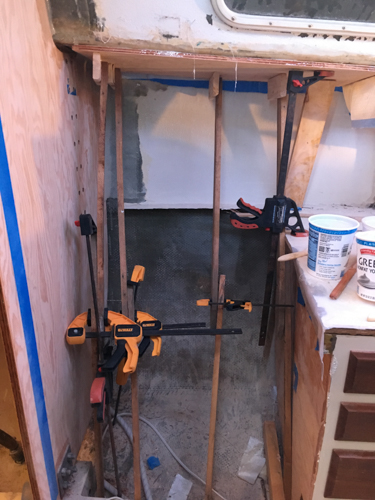
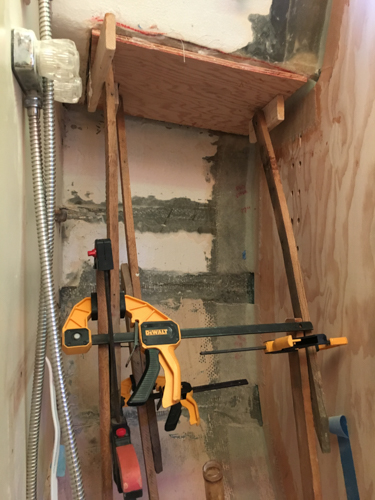
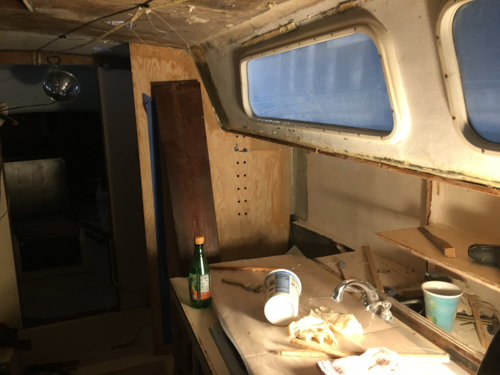
Main section of starboard catwalk core is installed.
With the plywood bonded to the deck, the last step is to fare the inside edge to match the curve of the deck as it meets the sides of the cabintop. After that, I'll lay up one or two additional layers of fiberglass on the underside of the plywood to finish the job. At this point though, the starboard deck is structurally repaired. Next: work on the port bulkhead.